How to Frame a Puzzle You Spent Weeks On, From Glue to Glass
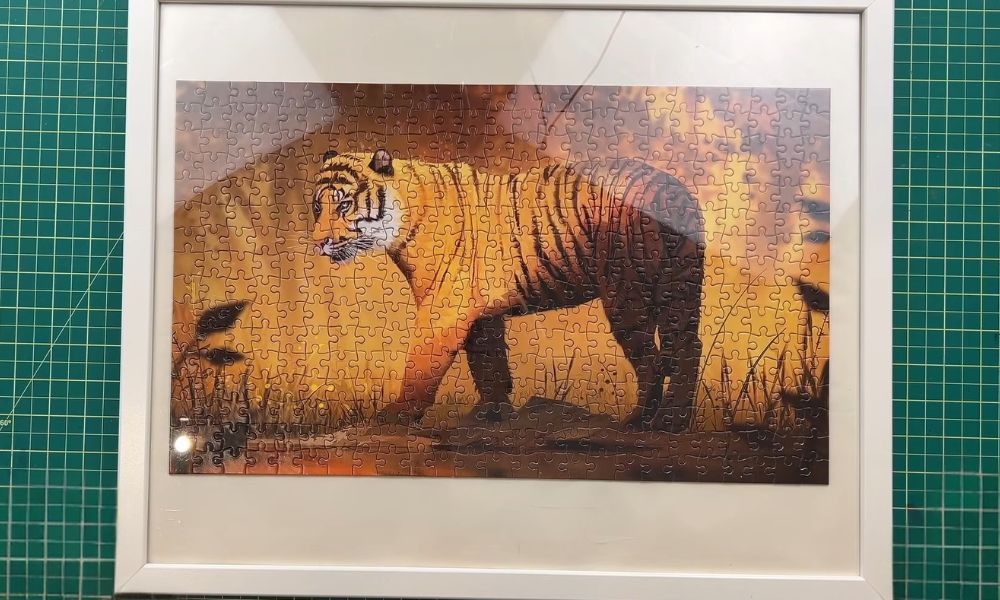
There it is. The final piece.
After weeks of sorting colors, examining suspiciously similar shapes, and questioning whether the manufacturer accidentally included 400 identical pieces of blue sky, your puzzle is finally complete.
Beautiful, isn’t it? There’s just one problem. It’s occupying your dining table, and apparently, people expect to eat there occasionally.
You could dismantle it and put everything back in the box. That’s what puzzles are designed for, after all. But after spending so much time assembling something, I completely understand wanting to keep it.
I’ve always thought jigsaw puzzles offer a particular kind of satisfaction. Unlike most games, there isn’t an opponent to defeat or a score to improve.
You’re gradually turning chaos into something recognizable.
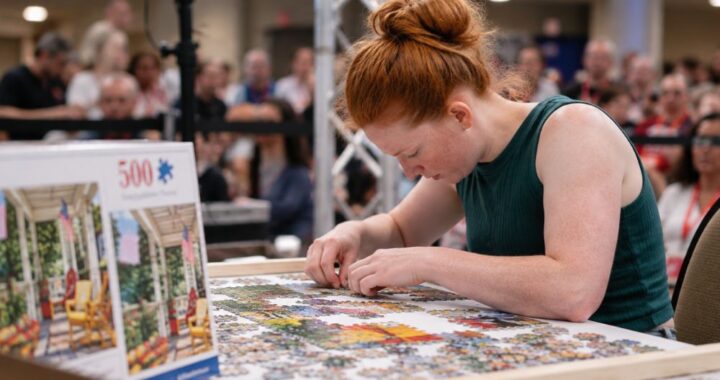
Unless you’re America’s jigsaw champion, of course. Then you’re turning chaos into art at an almost insulting speed.
For the rest of us, finishing can take considerably longer.
Fortunately, framing a completed puzzle isn’t especially complicated. You just need to make a few decisions before reaching for the glue.
First, Decide Whether You Really Want to Glue It
Here’s something I think people rush into: permanently gluing their puzzles together.
I understand the temptation. You’ve finished something impressive, and you want to preserve it before an enthusiastic pet or careless elbow undoes your work. But glue isn’t your only option.
According to Ravensburger’s puzzle framing guide, completed puzzles can be framed with or without adhesive.
Gluing makes sense when you’re certain the puzzle will become permanent wall art. It holds the pieces together, makes handling easier, and is particularly useful for large puzzles.
However, you might want to avoid glue if your puzzle is collectible, expensive, or something you’d enjoy assembling again.
Personally, I like keeping my options open.
Growing up playing games with my brothers taught me that replaying something doesn’t necessarily make it less enjoyable. Sometimes the second attempt is an entirely different experience.
A completed puzzle can be like that, too.
If you’re unsure, I’d recommend starting with a reversible framing method. You can always glue the puzzle later. Undoing a permanent adhesive job is another matter.
Get Your Supplies Together Before Moving Anything
Framing doesn’t require a workshop full of equipment.
For a typical cardboard jigsaw puzzle, you’ll need:
- A frame that fits the completed puzzle
- A rigid backing board or foam board
- Puzzle-specific glue or adhesive sheets, if using them
- Wax paper or parchment paper to protect your surface
- A foam brush or plastic spreader for liquid glue
- Glass or acrylic glazing, if desired
- A ruler, lint-free cloth, and suitable hanging hardware
Not every method requires every item.
One piece of advice, though: measure your completed puzzle before buying the frame.
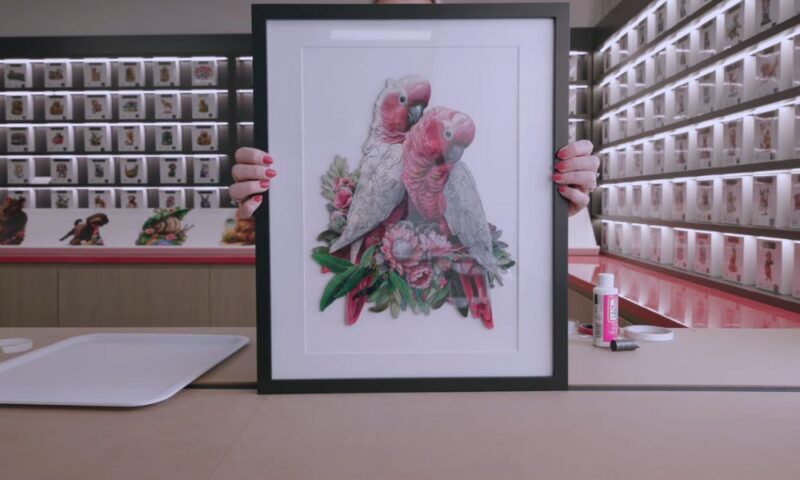
Don’t assume that every 1,000-piece puzzle has identical dimensions. Manufacturers use different piece sizes and layouts.
Measure the actual width and height, then check the frame’s internal dimensions and depth.
That last measurement matters more than people realize. A puzzle is thicker than a photograph, especially after you’ve added backing material.
A beautiful frame that won’t close properly isn’t much use.
How to Glue a Finished Puzzle Without Making a Mess
If you’ve decided on permanent preservation, puzzle glue is probably your simplest option.
Choose a product specifically designed for cardboard jigsaw puzzles. Ordinary household glue can be too thick, dry unevenly, or damage the printed surface.
I also recommend thinking about the finish.
Glossy glue makes colors look vibrant, but it can create reflections when combined with glass. For a puzzle that’s going behind glazing, I’d generally favor a matte finish.
Protect the Surface First
Before opening the glue, slide wax paper or parchment paper underneath the completed puzzle.
Make sure it extends beyond every edge.
If you’ve assembled the puzzle on a portable board, this should be relatively straightforward. Otherwise, carefully slide a thin, rigid sheet beneath it to help with the transfer.
Check that every piece is seated properly.
You want a smooth surface, not a few rebellious pieces standing slightly higher than their neighbors.
Apply Thin, Even Coats
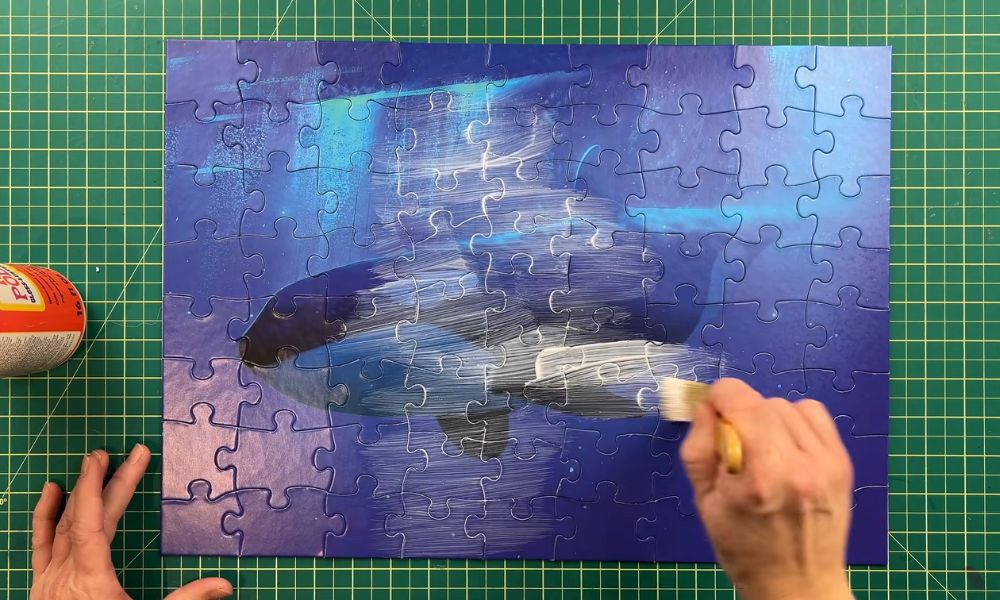
Use a foam brush or plastic spreader to distribute the puzzle glue across the front.
Work gently, spreading it evenly and allowing the adhesive to reach the joins between pieces.
Don’t drown the puzzle. Excessive glue can leave cloudy patches, create uneven drying, and cause the cardboard to warp.
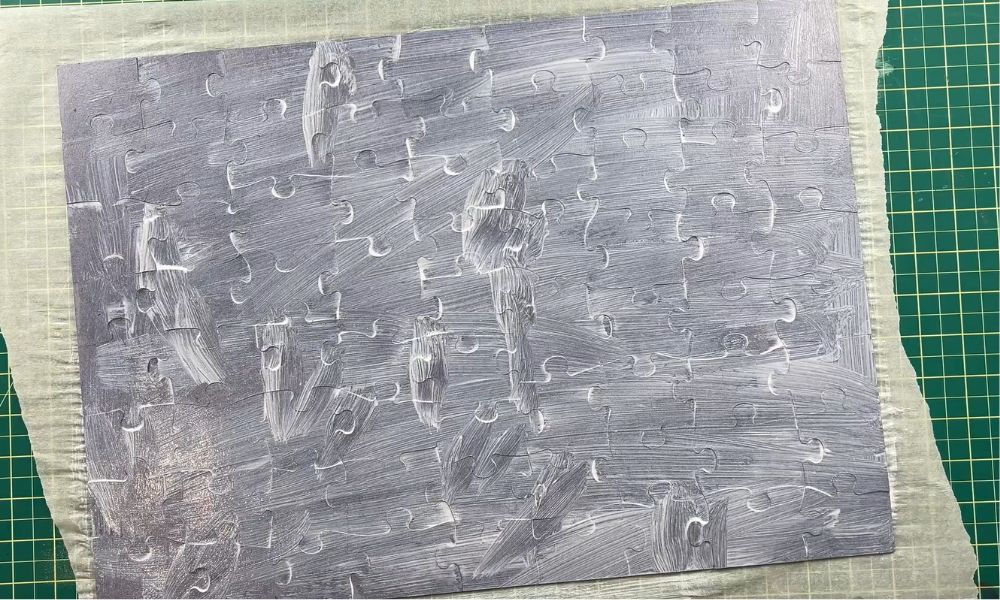
Follow the adhesive manufacturer’s instructions for coverage and drying times. Some products benefit from a second coat, but only apply one if the directions recommend it.
Then leave the puzzle completely flat until the glue has fully dried and cured. And I really do mean completely.
This isn’t the moment to test whether you’re stronger than the drying instructions.
Can You Frame a Puzzle Without Glue?
Absolutely.
For smaller puzzles, a properly fitted frame can hold the assembled pieces between a rigid backing board and clear glazing.
The important part is getting a frame designed to hold the puzzle securely without excessive pressure.
Complete the puzzle on a movable board if possible. Place the clean glazing over it, support the entire assembly, and carefully transfer it into the frame according to the frame manufacturer’s instructions.
Keep everything horizontal until the frame is securely closed.
Larger puzzles are trickier because their weight and flexibility make shifting more likely.
Another option is to apply adhesive puzzle-saving sheets to the back. These hold the pieces together without spreading liquid glue across the image.
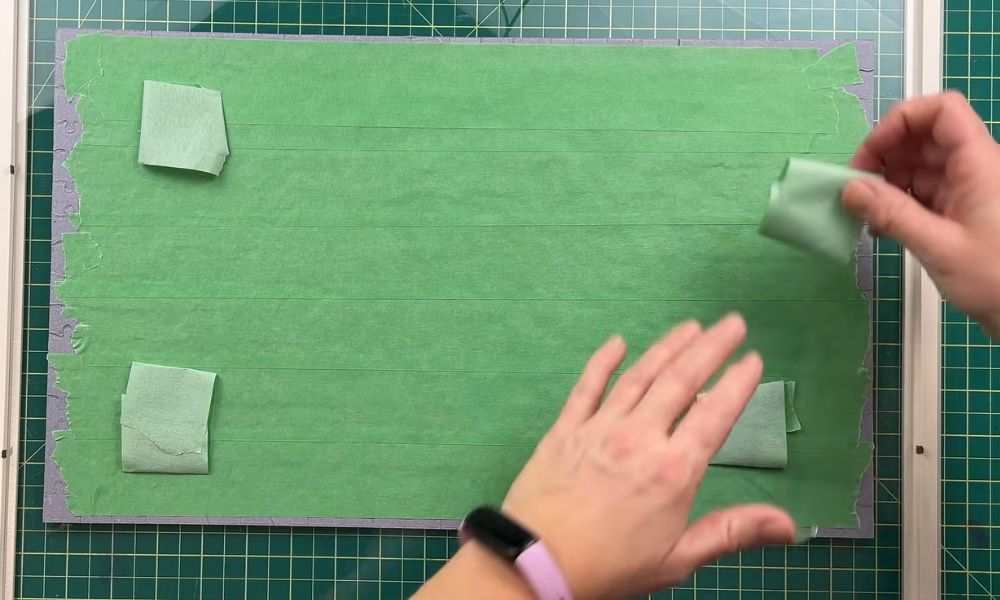
However, adhesive sheets aren’t necessarily removable without damage, so don’t confuse them with a fully reversible method.
My preference? If there’s a realistic chance you’ll rebuild the puzzle someday, use a purpose-made, glue-free frame.
A little extra care now is worth preserving that choice.
If you’re still deciding whether to glue your puzzle, tape the back, or leave it completely untouched, this video offers a helpful visual comparison.
Katherine from Katherine Learns Stuff walks through all three approaches, explaining their advantages, drawbacks, and when each method makes sense.
It’s worth watching before making anything permanent, especially if you’ve never framed a completed puzzle before.
Don’t Forget the Backing Board
This is one of those details that sounds boring until something goes wrong.
A glued puzzle might feel sturdy when you pick it up, but that doesn’t mean it will remain perfectly flat while hanging vertically.
Large puzzles especially need proper support.
A rigid foam board can work well for lightweight displays. Heavier or oversized puzzles may require stronger backing and a sturdier frame.
For permanent mounting, choose an adhesive compatible with both the puzzle and the backing material. If you want to preserve the possibility of removing the puzzle later, consult a framer about non-adhesive mounting methods.
I wouldn’t spend weeks completing a beautiful puzzle and then attach it to flimsy cardboard just to save a few dollars.
The frame protects what you see. The backing protects what holds everything together.
Both matter.
Glass or Acrylic: Which Is Better for Framed Puzzles?
Now we reach the part that makes your puzzle look like actual wall art.
You have two main glazing options: glass and acrylic.
Glass offers excellent clarity, resists everyday scratching, and gives a traditional framed appearance. Its disadvantages are weight and the possibility of breaking.
Acrylic is lighter and more impact-resistant, making it attractive for larger frames or rooms where accidental knocks are a concern. However, it scratches more easily and can attract dust through static electricity.
I lean toward acrylic for particularly large puzzles. Reducing the weight of something hanging above furniture seems like a sensible tradeoff.
For smaller puzzles, regular glass can be perfectly reasonable.
Is UV-Protective Glass Worth It?
If your puzzle will receive substantial daylight, I’d strongly consider UV-filtering glazing.
The Library of Congress’s preservation guidelines explain that light exposure can cause permanent fading and discoloration in paper-based materials.
UV-filtering glass or acrylic can reduce that damage, although it cannot prevent every effect of light exposure.
Check the actual UV-protection specifications rather than assuming ordinary glass provides the same protection.
For long-term preservation, consider using a mat or frame spacers to keep the glazing from resting directly against the puzzle’s surface.
And regardless of your glazing choice, avoid hanging the puzzle in direct sunlight.
A puzzle shouldn’t have to survive the equivalent of a summer-long endurance challenge.
Putting Everything Into the Frame
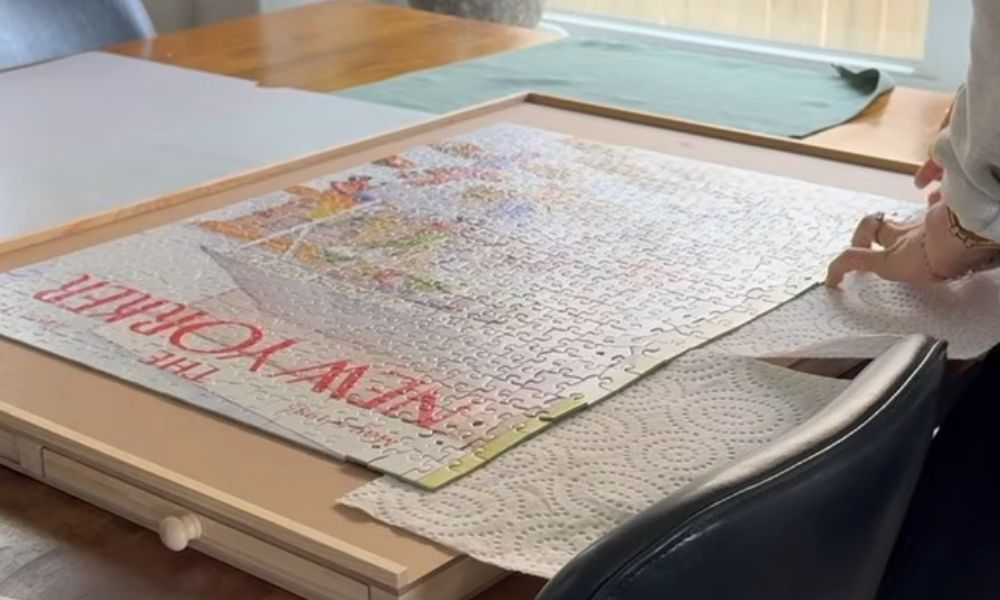
Once your puzzle is glued and fully cured, or securely prepared for glue-free framing, you’re ready for assembly.
Start by cleaning the glazing with a suitable lint-free cloth. Check carefully for fingerprints, dust, and stray hairs.
Few things are more irritating than discovering a mysterious speck trapped behind glass after sealing the entire frame.
Position the puzzle against its backing, making sure it’s centered and supported.
Add your mat or spacers if you’re using them, then carefully install the glazing and secure the backing according to the frame’s design.
Before hanging anything, check that the assembly is stable.
Gently raise the closed frame while supporting it. If anything shifts inside, lay it flat again and correct the fit.
Finally, use wall fasteners and hanging hardware rated for the complete frame’s weight.
If you’d rather see the entire framing process before trying it yourself, this tutorial from Amanda Hendrix Home is worth watching. She demonstrates how to turn a completed jigsaw puzzle into wall art, from preparing the puzzle to fitting it into a frame.
It’s a particularly useful walkthrough if you’re framing a puzzle for the first time and want to see how the individual steps come together.
A large puzzle in a glazed frame can weigh considerably more than the original puzzle box suggests.
The Framing Mistakes I’d Avoid
Most unsuccessful framing attempts aren’t caused by complicated problems. They’re caused by rushing ordinary decisions.
Using the wrong frame size, applying too much glue, moving the puzzle before it dries, and skipping proper backing can all create unnecessary headaches.
I’d also resist choosing an elaborate frame just because the puzzle took a long time to complete.
A heavily decorated frame can compete with an already busy image.
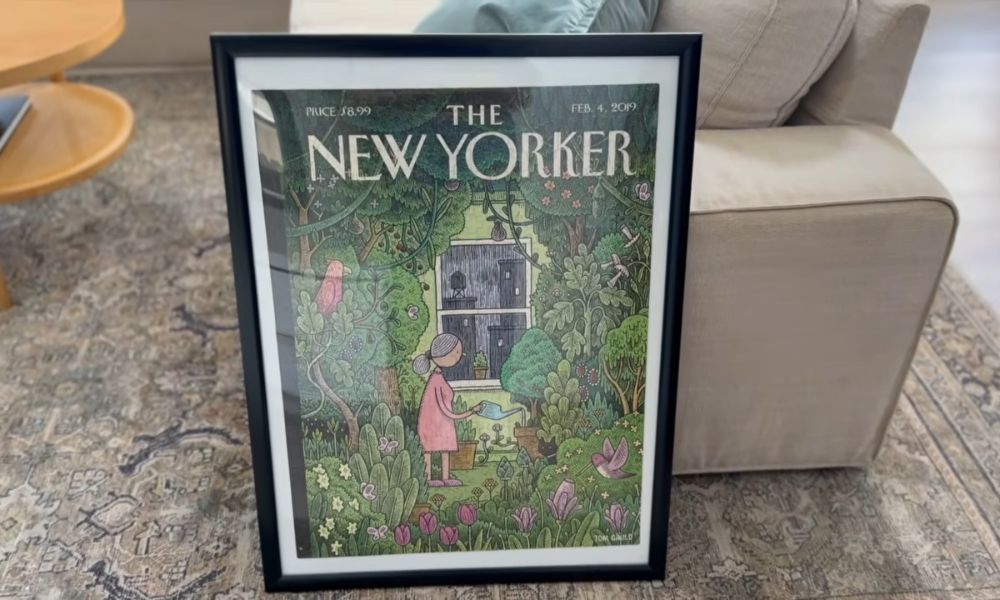
Personally, I think simple black, white, or natural wood frames usually let colorful puzzles shine.
A landscape might benefit from a warm wooden frame, while a bold illustration can look fantastic against a clean black border.
The goal isn’t to make the frame the star of the show.
It’s to make the puzzle look like it belongs on the wall.
Your Puzzle Deserves More Than a Return Trip to the Box
Not every completed puzzle needs framing.
Sometimes the enjoyment comes entirely from solving it, taking it apart, and moving on to the next challenge. There’s nothing wrong with that.
But certain puzzles feel different.
Maybe the image is particularly beautiful. Maybe the challenge seemed impossible halfway through. Or maybe assembling it became a relaxing ritual you looked forward to every evening.
Those are perfectly good reasons to keep something.
What I love about puzzles and games is that their value isn’t always measured by winning, speed, or difficulty. Sometimes it’s simply the time we enjoy spending with them.
And when a puzzle has occupied weeks of your life, I think giving it a permanent place on your wall can be a wonderful way to celebrate that experience.
Just make sure the frame is straight.
After everything you’ve been through together, that puzzle deserves better than hanging crooked.